Views: 12 Author: Site Editor Publish Time: 2025-03-05 Origin: Site
When the summer heat rolls in, there’s nothing quite as refreshing as a cold, delicious popsicle. But store-bought popsicles can be loaded with sugar and artificial flavors, leaving many of us searching for a healthier, more customizable alternative. Enter DIY popsicle molds—a simple, fun, and creative solution that allows you to make your own popsicles at home. Whether you’re a health enthusiast, a parent looking for kid-friendly snacks, or just someone who loves experimenting in the kitchen, DIY popsicle molds are a game-changer.
Why Choose DIY Popsicle Molds?
The beauty of DIY popsicle molds lies in their versatility. With a set of molds, you can create popsicles tailored to your taste preferences, dietary needs, and creativity. Want to make a sugar-free treat for the kids? No problem. Craving a tropical blend of mango and coconut? You got it. The possibilities are endless when you take control of the ingredients.
Another advantage of using DIY popsicle molds is the ability to avoid unnecessary additives and preservatives. Many store-bought popsicles contain artificial colors, flavors, and high fructose corn syrup, which can detract from their nutritional value. By making your own, you can use fresh fruits, natural sweeteners, and even sneak in some veggies for an extra health boost.


Getting Started with DIY Popsicle Molds
If you’re new to the world of homemade popsicles, don’t worry—getting started is easier than you might think. Here’s a step-by-step guide to help you create your first batch:
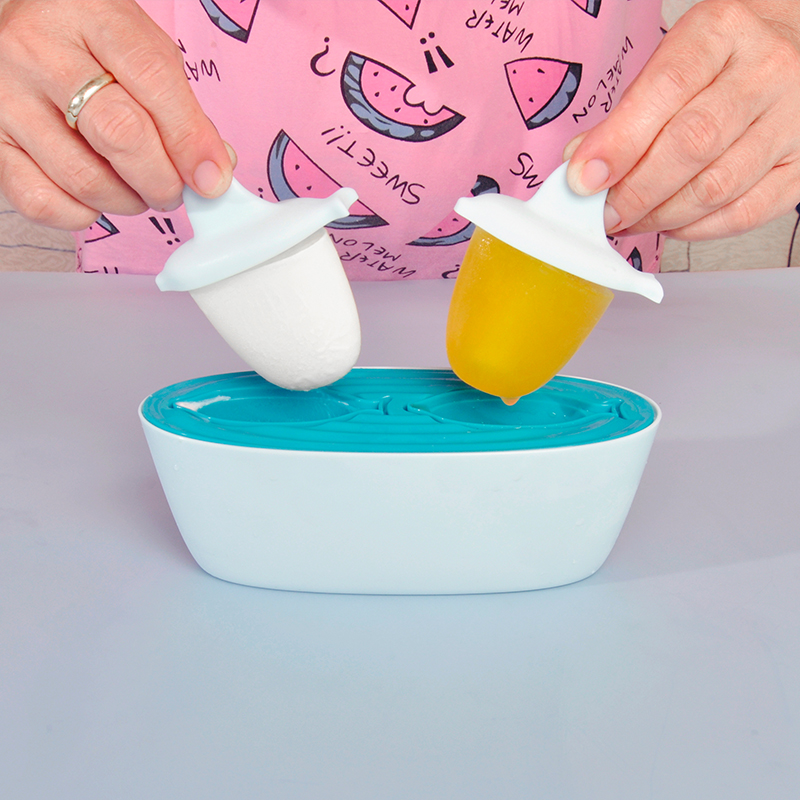
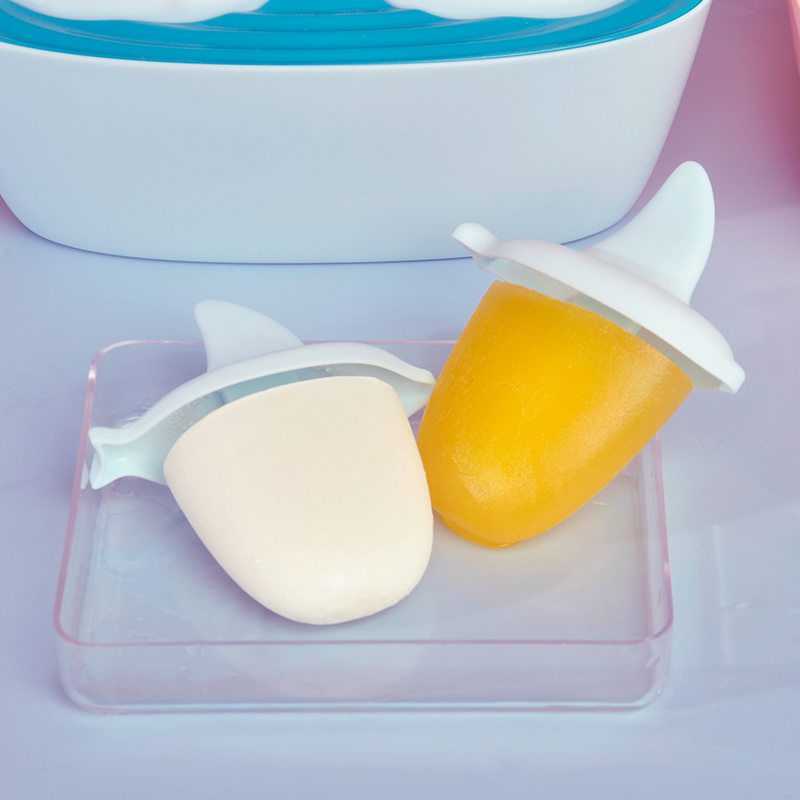
Choose Your Molds: The first step is to invest in a good set of DIY popsicle molds. These come in various shapes, sizes, and materials, including silicone, plastic, and stainless steel. Silicone molds are particularly popular because they’re flexible, making it easy to remove the popsicles once they’re frozen.
Pick Your Ingredients: The fun part begins with selecting your ingredients. Fresh fruits like strawberries, blueberries, and kiwi are excellent choices for a natural, fruity popsicle. You can also experiment with yogurt, coconut milk, or even herbal teas for unique flavors. Don’t forget to add a sweetener if needed—honey, maple syrup, or agave nectar are great natural options.
Blend and Pour: Once you’ve chosen your ingredients, blend them into a smooth mixture. If you prefer chunky popsicles, you can leave some fruit pieces intact. Pour the mixture into your DIY popsicle molds, leaving a little space at the top to allow for expansion as the popsicles freeze.
Freeze and Enjoy: Insert the sticks into the molds and place them in the freezer. Depending on the size of your molds, it usually takes 4-6 hours for the popsicles to fully set. Once frozen, simply remove them from the molds and enjoy!
Creative Ideas for DIY Popsicle Molds
One of the best things about DIY popsicle molds is the opportunity to get creative. Here are some fun and unique ideas to inspire your next batch:
Layered Popsicles: Create visually stunning popsicles by layering different flavors. For example, start with a layer of strawberry puree, followed by a layer of yogurt, and finish with a layer of blueberry puree. The result is a beautiful, multi-colored treat that’s as fun to look at as it is to eat.
Smoothie Popsicles: Turn your favorite smoothie into a popsicle. Blend together spinach, banana, and pineapple for a green popsicle that’s packed with nutrients. Kids won’t even notice the spinach!
Cocktail Popsicles: For the adults, why not turn your favorite cocktail into a popsicle? Margaritas, mojitos, and piña coladas all make delicious frozen treats. Just be sure to enjoy them responsibly.
Chocolate-Dipped Popsicles: Take your popsicles to the next level by dipping them in melted chocolate once they’re frozen. Add some crushed nuts or sprinkles for extra texture and flavor.
Herbal Tea Popsicles: Brew a strong cup of your favorite herbal tea, sweeten it with honey, and pour it into your DIY popsicle molds. This is a refreshing and low-calorie option that’s perfect for hot summer days.
The Benefits of DIY Popsicle Molds for Families
For families, DIY popsicle molds offer a host of benefits. Not only do they provide a healthier alternative to store-bought popsicles, but they also offer an opportunity for kids to get involved in the kitchen. Letting children choose their favorite fruits and help with the blending and pouring process can be a fun and educational activity. It’s a great way to teach them about healthy eating and encourage them to try new flavors.
Additionally, making popsicles at home can be a cost-effective option. Store-bought popsicles can be expensive, especially if you’re buying organic or all-natural varieties. With DIY popsicle molds, you can make a large batch of popsicles for a fraction of the cost, using ingredients you already have at home.
Tips for Perfect Popsicles Every Time
To ensure your popsicles turn out perfectly every time, here are a few tips to keep in mind:
Use Ripe Fruits: Ripe fruits are naturally sweeter and more flavorful, reducing the need for added sweeteners.
Avoid Overfilling: Leave a little space at the top of the molds to prevent spills and allow for expansion.
Run Molds Under Warm Water: If you’re having trouble removing the popsicles from the molds, run the outside of the molds under warm water for a few seconds to loosen them.
Experiment with Textures: Don’t be afraid to mix smooth and chunky textures for a more interesting eating experience.
Conclusion
DIY popsicle molds are a fantastic way to enjoy delicious, healthy, and customizable frozen treats all summer long. Whether you’re making them for yourself, your family, or guests, the possibilities are endless. From fruity blends to creamy indulgences, there’s a popsicle recipe out there for everyone. So why not grab a set of DIY popsicle molds and start experimenting today? Your taste buds—and your wallet—will thank you!